#ALPHABOARD – Last Post
Today is officially our last post! We will put all of our posts onto this one post to try and replicate a guide or instruction manual.
1. Determine Roles
You and your group should determine each of your roles in the project. Some examples are team leader, head builder, researcher, material organizer, etc.
2. Research
Research to find the compatibility with your materials. You may have to use YouTube. Here is a link to a channel that we found the most helpful: https://www.youtube.com/channel/UCOE04OX-W6NH3aenP2etYQA You must also research how to attach your components to the board while using the board. (We used velcro)
3. Organizing Materials
A purchase or multiple purchases need to be placed in order to have all of your supplies for your skateboard. You need a skateboard or longboard, a motor (belt driven or hub), a motor mount kit, a battery, and an ESC. We also recommend wheels that have holes in the inside. This makes attaching the gear to the wheel infinitely easier. Also, make sure your ESC, motor, and battery are compatible or else you will run into many issues later down the road.

4. Start Building
Once you have acquired all of your materials, you can start building! Attaching the gear to the skateboard wheel is where we started, but you can choose what you want to start building. In our opinion, attaching the gear to the wheel was the hardest part for us.

5. Using the Dremel
In some cases, the truck (wheel mount) on your board may be too wide to fit the motor mount. If this is the case, a power tool known as the Dremel can be used. We had to use it on our board, but to speed up the process we ended up using a band saw because the truck was really wide.


6. Assemble the Board
Now that you have prepared everything and started building, you can connect the motor, battery, and ESC. We recommend putting the motor on the mount to test compatibility.

7. Protecting the Equipment
You must decide on how your are going to protect your equipment. Our board was high enough off the ground, we only needed to attach the equipment using velcro, but overtime we might need some form of protection. Protecting the equipment is completely up to you and your team, but depending on how you are planning to use it, protection for your equipment may be the best choice.
8. Testing
Now that you have finished building, double check that you have done all of these things.
- Firmly attached the motor to the motor mount
- Attached a gear to the wheel
- Used the belt to connect the motor and the wheel
- Attached the ESC and battery to the board
- Connected the ESC, battery, and motor together and it works
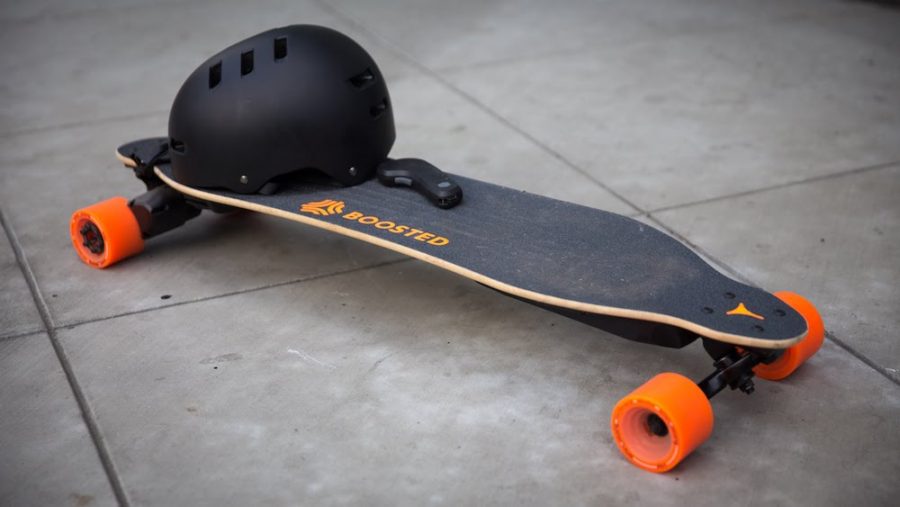
We also tested the board upside-down multiple times to see how everything was working together and we tested it on the ground by itself multiple times without any people on it. *Please wear a helmet while testing on the board.*
Here is a link to our channel where you can see us testing the board: https://www.youtube.com/channel/UCeMmJiuR439aF9Rt8UDFBqw
9. Revising
In many cases, your board will not work the first time. We tested the board multiple times and we needed to fix or change something almost every time.
10. Finishing the Board
Congratulations! You are now done with your electric skateboard. You can customize it however you want, as long as it doesn’t interfere with the motor, ESC, and battery.