Cloud storage has become more and more popular as the years go on, and big companies like Google or Apple have already dominated the market. What if I told you that you can make your own Cloud server, straight from your home?
Supplies
- Raspberry Pi of any kind (Faster is better, usually the more expensive the Pi is, the faster it will be.)
- Micro SD card (For the Raspberry Pi)
- Computer (Other than the Raspberry Pi)

Step 1: Install DietPi on Your Raspberry Pi
The DietPi installation process is pretty much the same as with most other custom Raspberry Pi operating systems.
Get the disk image here, unzip it, and then write the disk image to your micro SD card. You can use the Raspberry Pi imager for this. (Select custom .img from your computer.)
Step 2: Write Down Your IP Address and Log Into DietPi
Insert the MicroSD card into the Raspberry Pi, connect it to an ethernet cable, and connect it to power. DietPi should print out your IP address in the top bar even before you do anything. We’re going to need that, so write it down.
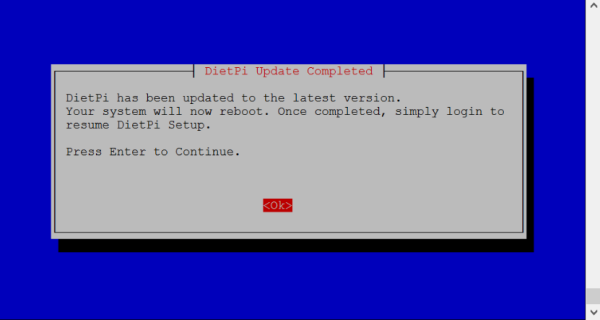
Log in with the username root and the password dietpi. If it’s your first time logging in, DietPi will update automatically. Wait until it’s done and reboot.
Step 3: Install OwnCloud
Once your Pi has rebooted, you’ll need to install some extra software.
In the DietPi menus, find Software Optimized – Select DietPI optimized software for installation and then 47 OwnCloud: your very own cloud.
After installing OwnCloud, go to Install – Go >> Start installation for selected software and press Enter. Follow the following procedures.
DietPi will install ownCloud and then – you’ve guessed it! Reboot.
Step 4: Access the OwnCloud Web Interface
Go onto another device and open a browser. Remember that IP address you (should have) wrote down? Type that in the top bar of your browser in between http:// and /owncloud. Something like “http://156.457.3.578/owncloud” should be the case.
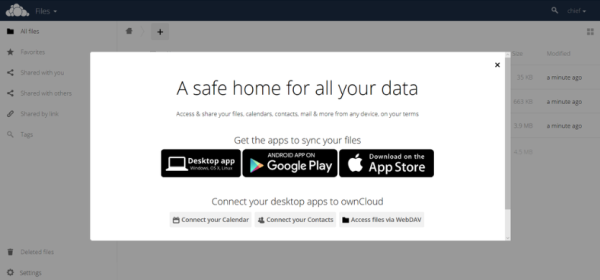
After that, you’ll need to follow the steps prompted in order to set up OwnCloud. After that, you’ll find yourself on the OwnCloud web dashboard.
Step 5: Use Your Storage!
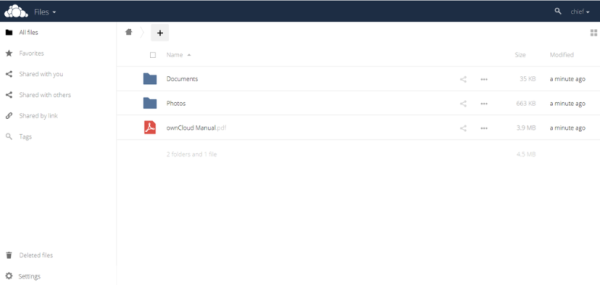
Your Raspberry Pi OwnCloud server is now set up and you can start uploading files in the storage by clicking the little plus symbol above the list of files and clicking Upload. You can now access this website on any device on your network. On your network…? Yes, right now this home server is kind of useless if you are only using it at home, so the next steps will bring it into the world wide web.
Step 6: Set Up Port Forwarding
To bring your Cloud server into the world, you’ll need to set up port forwarding. You’ll need to get your router’s settings first, most likely by typing your plain ip address into the top bar of your browser. (Could be different for different companies). Your router settings could look similar to this:
Service Port: xx
Internal Port: xx
IP Address: [your Pi’s IP address]
Protocol: xxx
Common Service Port: xxxx
Ok. Now keep this onto the side.
Step 7: Configure Trusted Domains
Go onto your console on your Raspberry Pi. Enter:
sudo nano /var/www/owncloud/config/config.php
We’re going to edit this config file a little but.
<?php
$CONFIG = array (
'updatechecker' => false,
'instanceid' => 'oczs3u2vnel0',
'passwordsalt' => 'nRmHalWK8DQBNJ2bUicukJsg8Ys4Y2',
'secret' => 'fMP9Uix9Ub965r2ukRzKVgmn0ZK8GRSWWo5l1x9zseRZFkxS',
'trusted_domains' =>
 array (
 0 => '192.168.0.103',
 ),
'datadirectory' => '/var/www/owncloud/data',
'overwrite.cli.url' => 'http://192.168.0.103/owncloud',
'dbtype' => 'sqlite3',
'version' => '9.1.6.2',
'logtimezone' => 'UTC',
'installed' => true,
);
Your config should be similar to mine. Right above where the parentheses close, add a new line: 1=>'[your public IP address]’ Your public IP is different from your Pi’s IP. To get it, just go on google and search up: What’s my IP address.
'trusted_domains' =>
array (
0 => '192.168.0.103',
1 => '[your public IP address]'
),
Save the file by pressing Ctrl+X, then Y, then Enter.
Now you can log in to your ownCloud server from outside your home network by browsing to http://[your public IP address]/owncloud/! Be sure it’s your public IP and not your Pi’s IP anymore.
Congrats! You have now completed your OwnCloud Cloud server that you can access anywhere, wherever you go!