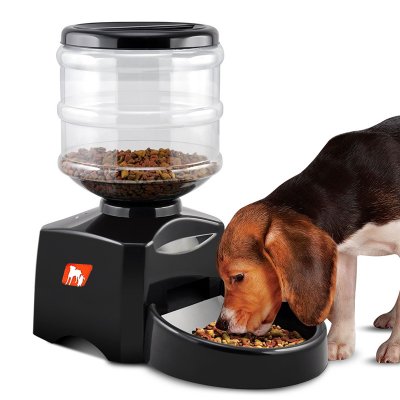
Hello pet lovers! Are you going on a long trip and don’t want to pay $500 for a dog sitter? Are you too lazy to feed your dog every day? Do you want to not spend $100+ on a dog feeder? Well, in this instructable, I will will tell you how to make a simple, easy and cheap automatic pet feeder with Arduino!
Supplies:
- 1 Arduino UNO. (This one is cheap and inexpensive.) $18
- 1 micro servo. (Here is a cheap 2 pack) ~$4
- Jumper wires (M to M) (Here‘s a lot of a cheap price) ~$1
- 3d printer (Optional)
- Any food container (Depends) ~$5
- Some cardboard (Depends) ~$0-1
Step 1: Making the Circuit
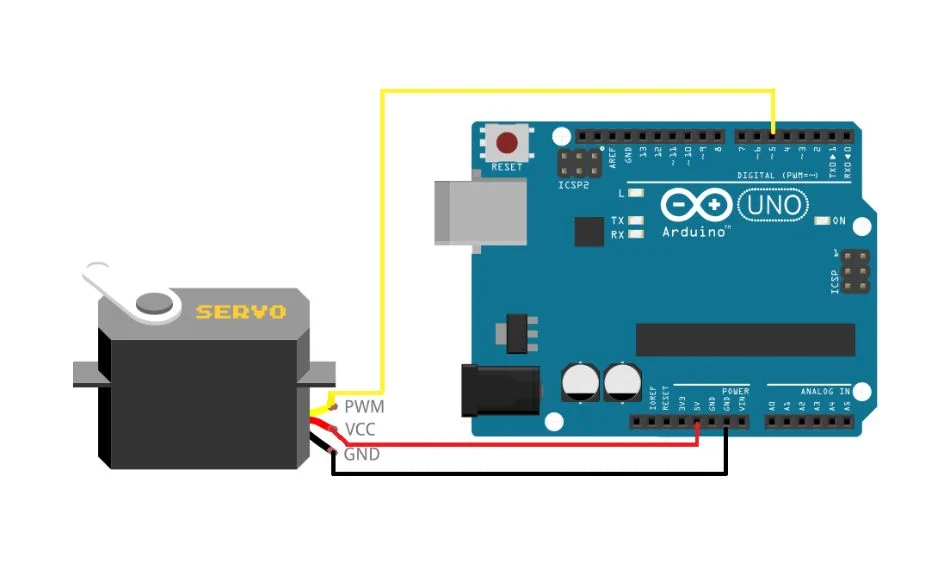
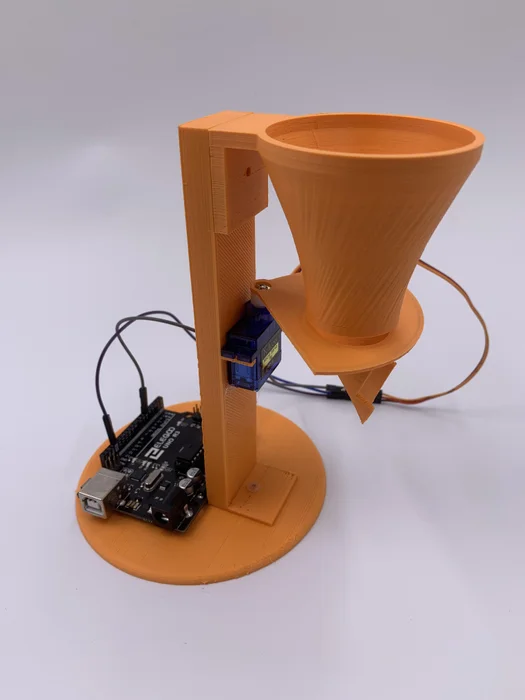
We start by making the circuit. The servo motor acts as a lid to the food container, and the Arduino is the commonly known microcontroller. The servo motor will rotate at a certain angle therefore opening and closing the lid. You can wire it by looking at the picture above. The colors of the wires represent where they should plug into.
Step 2: 3D Printing the Pet Feeder
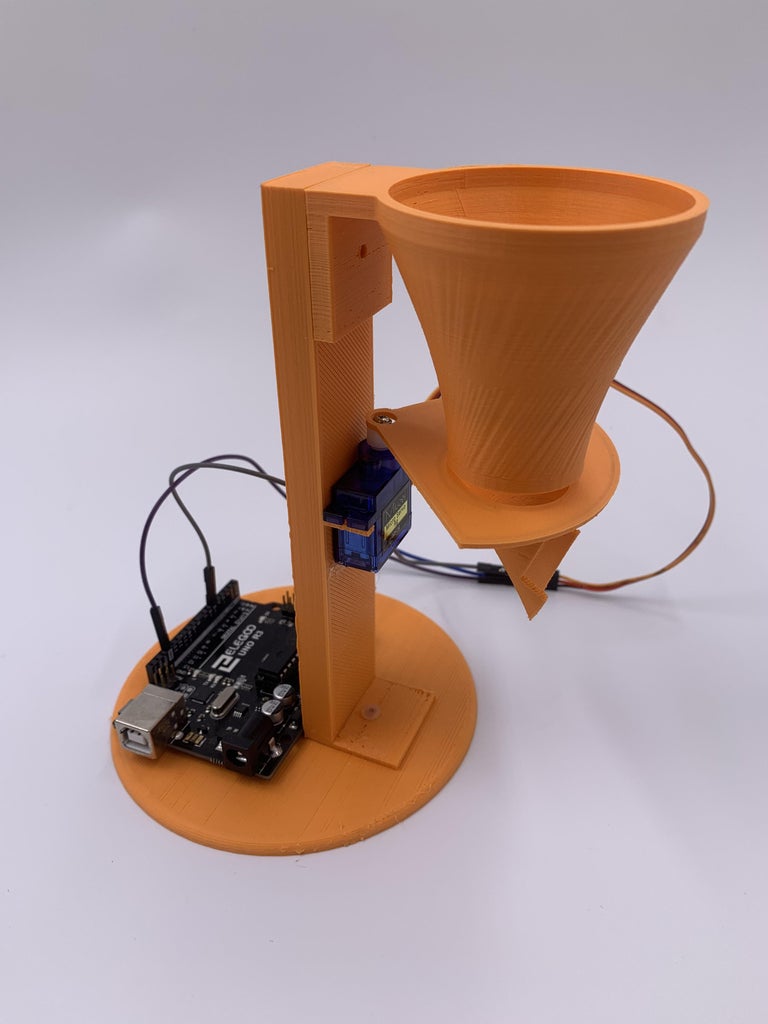
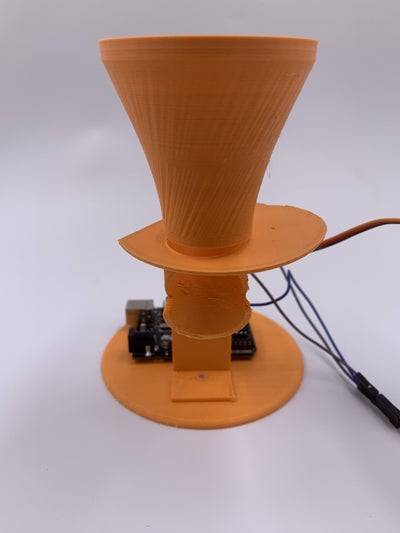
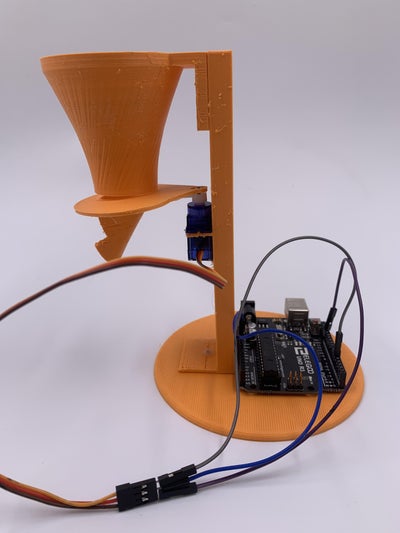
The next step is to 3D print the parts. You can download the files from Thingiverse or Google Drive. (Links) If you don’t have a 3D printer, you can go on PCBway to order some for cheap. They are not sponsoring me, I just think that they are great.
Step 3: Testing the Servo
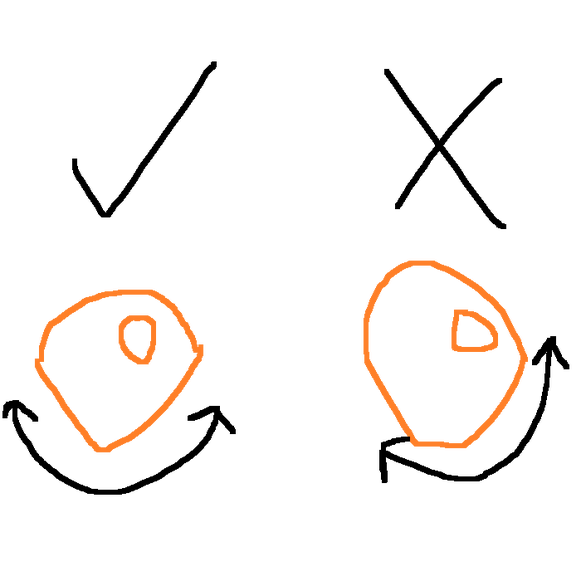
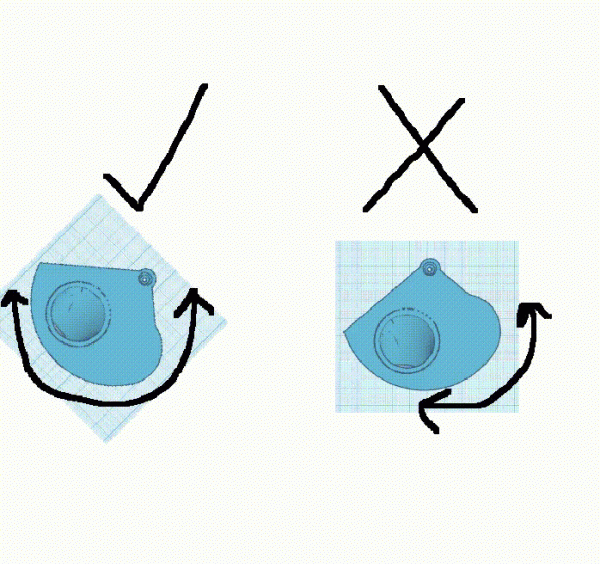
Twist the servo horn without power connected, and it should turn a full ~175°. If not, change the position accordingly until you can turn it ~175°. Most servos should not have a problem with this. If there’s a physical limiter on the servo, then you will have to buy a new one with a 180° turn angle. Use the 2 pictures above for reference.
You could also use the servo tester to do the job if you have one handy.
Step 4: Programming the Arduino
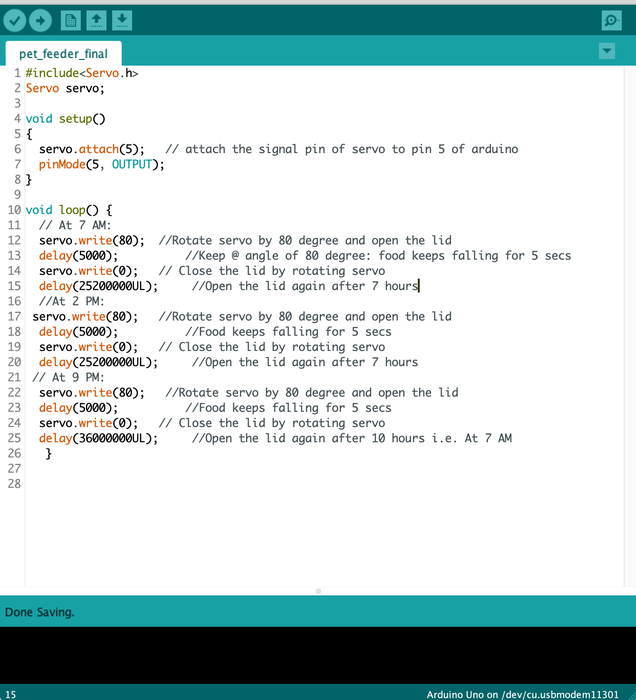
This program should be pretty straightforward. Download the file below, and upload it to your Arduino. Basically, you start the code at 7 am, and it will deliver the food. After 7 hours, it will open again, which is at 2 pm, then at 9 pm, it will open again. Finally, it will wait 10 hours, and it will start again at 7 am. In the code, it will explain a bit more.
You can watch the YouTube video for more information.
Step 5: You Are Done!
You are finished! Now just add the food, start the machine up at 7, and you are all set!
Thank you so much for reading, and I hope you are successful with your build!
