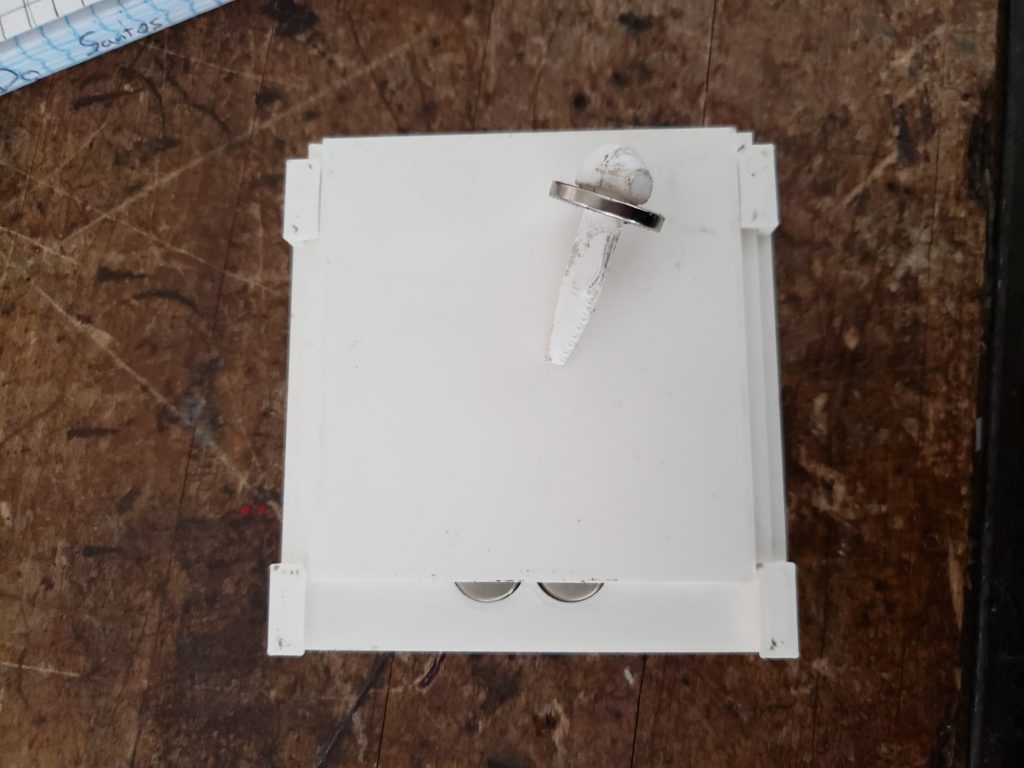
Putting the magnets into the base was quite difficult because it required a lot of patience. When I first got my magnet and the 3D printed base (which can be found here), I thought that attaching the magnets would be easy, but was proven wrong. I had a big problem; I didn’t know which side of the magnets was north or south. My solution was to test which sides of the normal magnets repelled the ring magnet. After figuring that out, I was finally ready to put the magnets into the base. This part was very tricky due to the close proximity of the magnets in the base, creating a magnetic force so strong that it feels like a dog bite when they collide on your finger. And so it was finally time to start.
However, even after multiple attempts, I had not succeeded. Instead of giving up, I asked a friend for help. My friend suggested something that is called “Slide n’ Cover.” To summarize, this strategy is basically having a stack of magnets and sliding one into a base before covering it with the base cap as fast as possible. This worked but took too long. So, I modified the strategy by instead using one magnet at a time. You would use one magnet, and then cover it with the base cover. Then, I finally put the magnets into the base.
In conclusion, putting magnets into the base was not easy because the magnets are too strong. After multiple attempts to put the magnets into the base, I had to get advice from a friend. My friend invented a way to put the magnets into the base, but it took too much effort so I changed it a bit. And so, I finally put the magnets into the base, and am now one step closer to completing my product.


