How To Use A Makerbot Replicator
Instructions and Troubleshooting
https://www.makerbot.com/3d-printers/replicator/
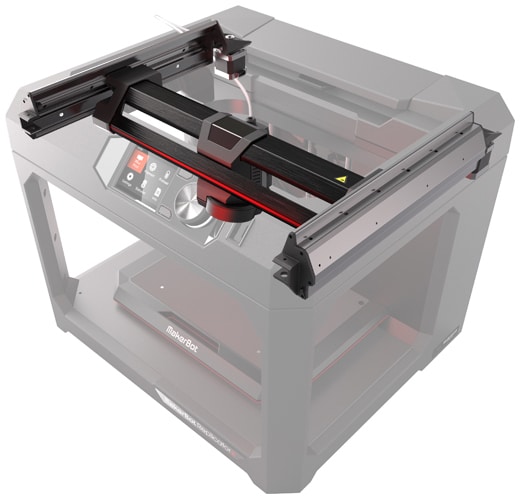
The Makerbot Replicator is a 3D printer that has a good print size limit and print speed. It also has a camera which you can access through the app to see your print anywhere. Here is how to use it.
Loading Filament
To load filament into the Makerbot Replicator, follow this video. First, you find loading filament in the menu and start that. Then, you take out the existing filament and put the new one in. Then, start feeding the new filament into the red hole next to the filament holder. Keep feeding it until it comes out of the end of the thin white tube. After this happens, feed the filament in the tube into the hole on top of the extruder. Keep pushing until it starts extruding first the old filament, then the new filament. It should be ready to go after this, all you need to do is drop the filament back down into the printer.
Printing/Finding Models
Refer to this website for how to print a model. You can find models at thingiverse.com. In short, there are only a few steps to printing. First, find a model or make it. Next, follow these instructions for exporting files and printing them:
If you’re printing via USB cable, Ethernet, or Wi-Fi, MakerBot Print will slice your file and send it to your MakerBot Replicator. When prompted, press the control panel dial or select Start Print in MakerBot Print to confirm and start the print. Make sure the build plate is clear.
- If you’re printing via USB drive, click Export instead and save the file to your USB drive. Plug the stick into the port on the MakerBot Replicator and navigate to USB Storage on the control panel. Find your file and push the control panel dial to confirm and start the print.
- You can click Estimates and Print Preview to see a rendering of what your printed part will look like, along with print time and material usage estimates.”
An important thing to note is that the only file type supported on Mac is .stl. After printing, the only thing left is to take the print off after it cools.
Troubleshooting
Most troubleshooting fixes can be found at pages 46-50 of the User Manual, but here are some more common ones. First, if you cannot remove filament from the printer, try running the filament load sequence and then unloading again. If the filament won’t extrude, try unloading and reloading the filament. If you can’t load filament properly, try unloading and reloading the filament while holding the extruder in place. If you hold it in place, pushing filament through will not damage it. For all other problems, refer to the user manual.
RELATED STORIES:
http://download.makerbot.com/replicator/MB_Replicator_UserManual.pdf
https://support.makerbot.com/s/article/Replicator-5th-Generation-How-to-print-a-model
https://www.3dbeginners.com/makerbot-replicator-5th-generation-review/
TAKE ACTION: