Interactive Gloves
Interactive glove parts.
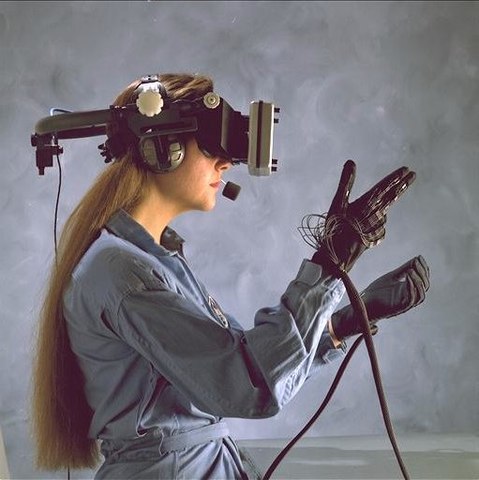
By National Aeronautics and Space Administration. – http://gimp-savvy.com/cgi-bin/img.cgi?ailsxmzVhD8OjEo694; originally uploaded by Bayo., Public Domain, https://commons.wikimedia.org/w/index.php?curid=752240
These gloves use these sensors on the tips of the fingers to tell when they are touching. So if you code each fingertip to do something different, you can do a lot of things.
Instructions
Gather materials (Lilypad Arduino, Lilypad accelerometer, Lilypad vibe board, Flex sensor, conductive thread, conductive fabric, Lilypad FTDI breakout, plain fabric, close-fitting gloves, and resistors)
Sew conductive patches or cloth to finger tips of glove.
To keep Flex Sensors in place, sew a casting (a narrow, open pocket big enough to slide in the Flex Sensors) on 3 fingers.
To make the resistors and flex sensors conductive thread-friendly, use a pair of needle nose pliers to curl the ends into loops.
Sew on the first layer of circuitry with the conductive thread. Make sure you have firm connections to the components by sewing several times through the loops (It’s a good idea to test your circuit after each layer before starting the next, to make sure you haven’t stitched threads too close together or have loose connections).
Cut two pieces of fabric to fit above the overlapping section of circuit, and tack them in place. sewing the conductive thread only on the top layer (otherwise you’ll short out the circuit) add the connections from the flex sensors back to the Arduino.
Cut another two pieces of fabric to cover the overlap from the previous layers, and tack in place. Again, sewing only the top layer , make the connections from the touchpads on the fingers to the Arduino.
Calibrate your flex sensors and accelerometer before programming.
Program your gloves.
RELATED STORIES:
https://www.instructables.com/Interactive-Gloves/
3 Real-World Use Cases Of Haptic Gloves For Virtual Reality Training
TAKE ACTION:
Buy pre-made interactive gloves here.
