Elegoo Ardunio Uno R3-LED Sequential Control
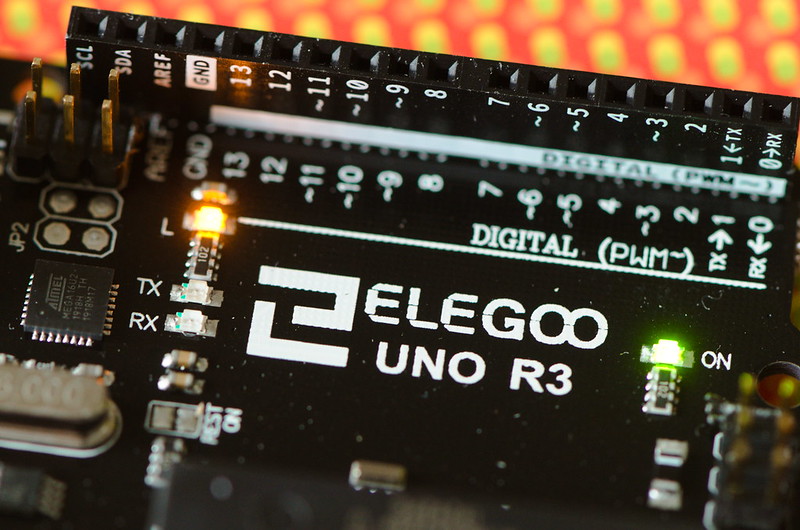
For the LED Sequential Control you will need your breadboard, uno, USB cable, 3 220 Ohm resistors, 4 jumper wires, and red, green, and blue LEDs. The first thing you want to do is connect a jumper wire to GND on the uno and the negative side numbered 25 on the breadboard. Next, you want to connect your resistors, connect one side of the resistor to the negative side of your breadboard numbered 7. You will see letters on the top of your breadboard, put the other side of the resistor on E,7. The second resistor is also going to go on the negative side of the breadboard numbered 15, the other side of that resistor goes on E,15. The last resister goes on the negative side of the breadboard numbered 22, and the other side of that resister goes on E,22. Now we are going to put the LEDs. You will probably notice that one wire connected to the LED is longer than the other, that is because one side is negative and the other side is positive, the longer wire is positive and the shorter one is negative. Put the negative side of the LED on D,7 the positive side will go on D,9. The second LED’s negative side will go on D,15 and the positive side will go on D,17. The negative side of the last LED will go on D,22 and the positive side will go on D,24. The third step we are going to do is the jumper wires, you want to connect 3 wires to 11, 12, and 13 on your uno. Take the wire connected to 13 and place the other side on E,24 the other side of 12 to E,17 and the other side of 11 to E,9. After that, you want to connect your USB cable to the uno then you want to go to https://www.arduino.cc/en/Main/Software and make sure you have it downloaded onto your computer next you want to hook up the USB cable to your computer. After you hook up the USB cable you want to go to https://www.dropbox.com/s/bivwdnehp7l… where you will find coding for the LED lights. You can also check out that video that I put that will further explain what the coding will do. Have fun!
