Password Door Lock using Elegoo and Tinkercad

Source: Jackson Steider
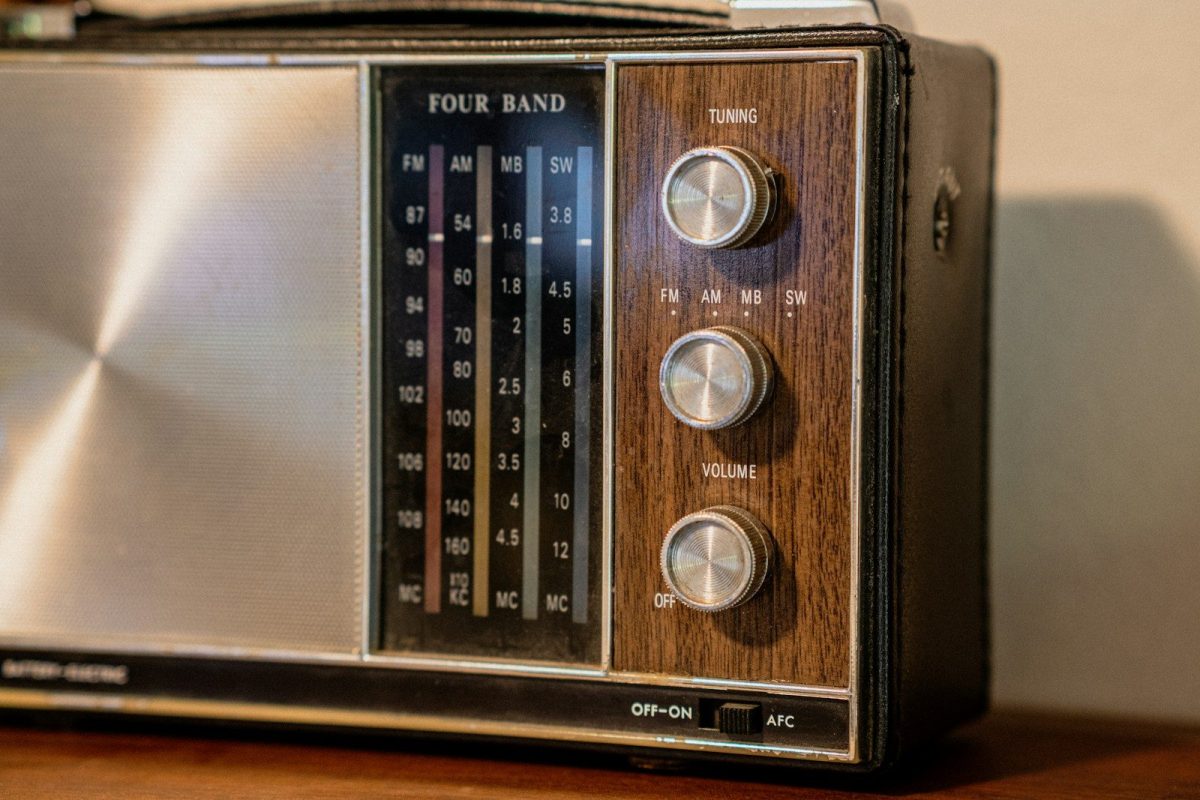
In this project, we will be building and coding a password screen and lock system. This is one of the more advanced projects but still easily achievable.
You will need:
- 25 wires of various colors to help sort.
- 1 potentiometer
- 1 LCD 16 x 2
- 1 elegoo uno r3 circuit board
- 1 Breadboard
- 1 4×4 keyboard
- 1 micro servo
Keep in mind the colors I use r not mandatory for you, I just use them to keep my projects organized.
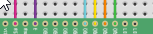
Step one: connect these wires to their correct spot.
Keypad
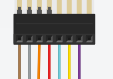
Circuit Board

Step two: connect these wires to their correct place.
Circuit Board

LCD
Step three: connect these wires and the potentiometer to their correct place.
LCD

Breadboard

Step four: connect these wires to their correct places.
Servo

Breadboard

Circuit Board

Last step of building: Connect these wires to the correct place.
LCD

Breadboard

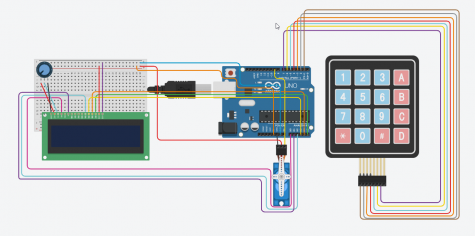
The complete project should look like this:
Finally copy and paste this code into your software and run it.
#include <Keypad.h>
#include <LiquidCrystal.h>
#include <Servo.h>
Servo myservo;
LiquidCrystal lcd(A0, A1, A2, A3, A4, A5);
#define Password_Lenght 7 // Give enough room for six chars + NULL char
int pos = 0; // variable to store the servo position
char Data[Password_Lenght]; // 6 is the number of chars it can hold + the null char = 7
char Master[Password_Lenght] = “123456”;
byte data_count = 0, master_count = 0;
bool Pass_is_good;
char customKey;
const byte ROWS = 4;
const byte COLS = 3;
char keys[ROWS][COLS] = {
{‘1’, ‘2’, ‘3’},
{‘4’, ‘5’, ‘6’},
{‘7’, ‘8’, ‘9’},
{‘*’, ‘0’, ‘#’}
};
bool door = true;
byte rowPins[ROWS] = {1, 2, 3, 4}; //connect to the row pinouts of the keypad
byte colPins[COLS] = {5, 6, 7}; //connect to the column pinouts of the keypad
Keypad customKeypad( makeKeymap(keys), rowPins, colPins, ROWS, COLS); //initialize an instance of class NewKeypad
void setup()
{
myservo.attach(9);
ServoClose();
lcd.begin(16, 2);
lcd.print(” Arduino Door”);
lcd.setCursor(0, 1);
lcd.print(“–Look project–“);
delay(3000);
lcd.clear();
}
void loop()
{
if (door == 0)
{
customKey = customKeypad.getKey();
if (customKey == ‘#’)
{
lcd.clear();
ServoClose();
lcd.print(” Door is close”);
delay(3000);
door = 1;
}
}
else Open();
}
void clearData()
{
while (data_count != 0)
{ // This can be used for any array size,
Data[data_count–] = 0; //clear array for new data
}
return;
}
void ServoOpen()
{
for (pos = 180; pos >= 0; pos -= 5) { // goes from 0 degrees to 180 degrees
// in steps of 1 degree
myservo.write(pos); // tell servo to go to position in variable ‘pos’
delay(15); // waits 15ms for the servo to reach the position
}
}
void ServoClose()
{
for (pos = 0; pos <= 180; pos += 5) { // goes from 180 degrees to 0 degrees
myservo.write(pos); // tell servo to go to position in variable ‘pos’
delay(15); // waits 15ms for the servo to reach the position
}
}
void Open()
{
lcd.setCursor(0, 0);
lcd.print(” Enter Password”);
customKey = customKeypad.getKey();
if (customKey) // makes sure a key is actually pressed, equal to (customKey != NO_KEY)
{
Data[data_count] = customKey; // store char into data array
lcd.setCursor(data_count, 1); // move cursor to show each new char
lcd.print(Data[data_count]); // print char at said cursor
data_count++; // increment data array by 1 to store new char, also keep track of the number of chars entered
}
if (data_count == Password_Lenght – 1) // if the array index is equal to the number of expected chars, compare data to master
{
if (!strcmp(Data, Master)) // equal to (strcmp(Data, Master) == 0)
{
lcd.clear();
ServoOpen();
lcd.print(” Door is Open”);
door = 0;
}
lcd.clear();
lcd.print(” Wrong Password”);
delay(1000);
door = 1;
}
clearData();
}
For video instructions click here