We created a wooden organizer that can be utilized for any personal or academic purpose. We used a 6 inch x 71 inch x 1 inch piece of wood and cut to our desired length.
Then we ordered the screws and marble decoy paper. The decoy paper will be used to cover the wood and give it a marble finish.
We saw wood in a variety of sizes, shapes, and colors. We found pieces according to our measurements. For example, we used a height of 6 inches because that was our height.
For other pieces, cut them to the correct measurements. This is an important step of our project because it will ensure that all the pieces will fit together. To cut these pieces to size, there are a variety of machines to work with.
In order to cut we needed to measure and mark all of our material. We marked exact measurements on to our wood and labeled each one. After doing that, we drew a straight line across the wood to make it easier and more precise when we cut. For cutting we used a handheld saw because it can cut thick and long pieces of wood.
After cutting our big pieces, we were left with smaller cuts. We used the band saw because it was perfect for cutting all of the pieces to the exact measurements.

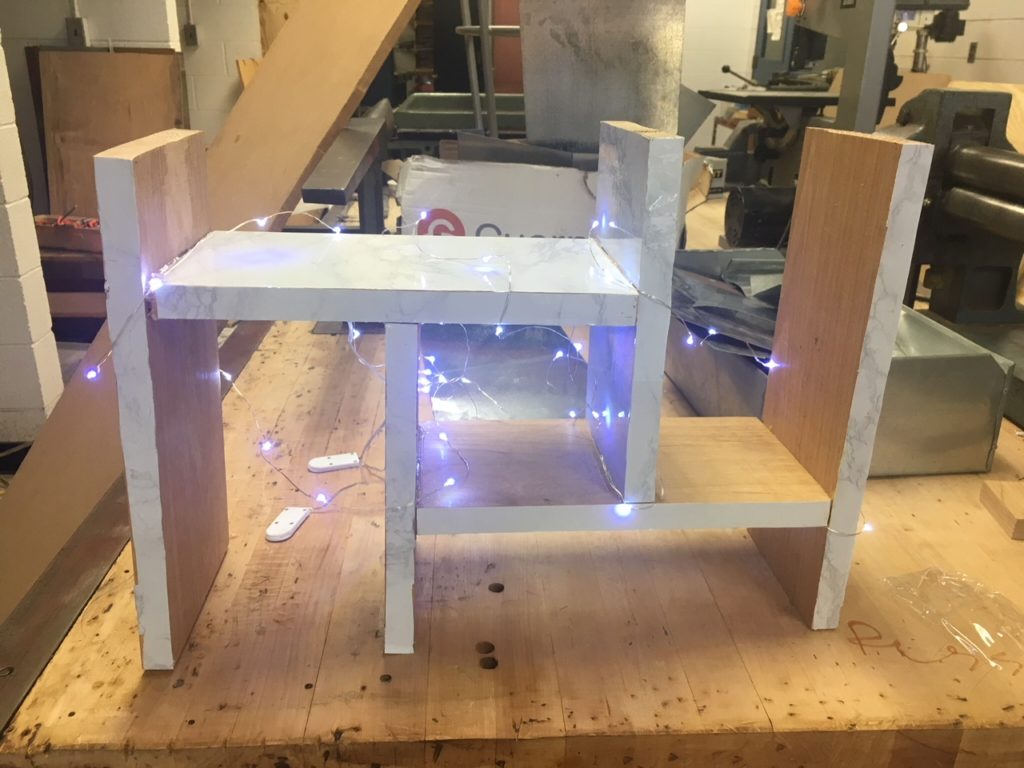
The last step in our project was adding the finishing touches. This includes removing excess glue from the wood and adding the white fairy lights.
First we had to unwind the wires for the fairy lights. Then we had to drape and position them to look good.
This gives us the finished result of a useable wooden organizer.
A wooden organizer would beneficial for school because it would help us to stay organized.
To find read on each step of our project go to the hashtag ‘VLmetric’.