Elegoo Adruino Uno R3 – Ground Proximity Sensing with Ultrasonic Sensor Project
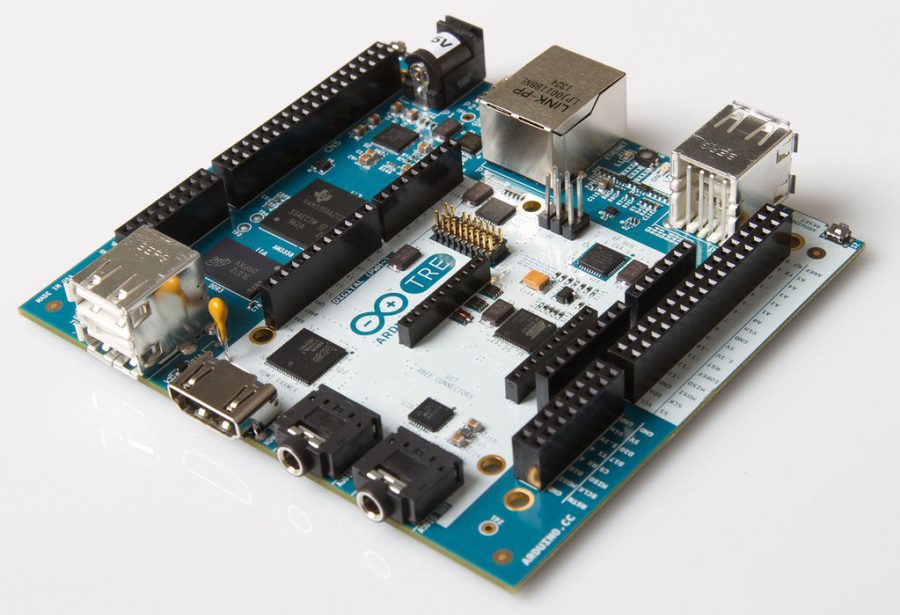
“Texas Instrument Adruino TRE” by Stratageme.com is licensed with CC BY-NC-SA 2.0. To view a copy of this license, visit https://creativecommons.org/licenses/by-nc-sa/2.0/
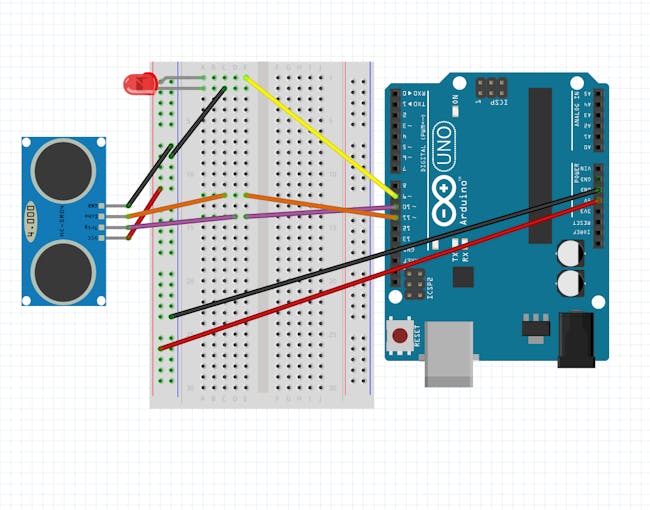
This Elegoo Arduino is a miniature counterpart of radio altimeter, that is used on commercial aircraft, and to be used with RC aircrafts and multirotors. It is important because this sensor is used on aircrafts to see how close they are to the ground. There have been accidents where people have accidently flown too close to the ground, and have gotten severely injured. This project includes a few materials. You will need one Arduino Uno, one ultrasonic sensor-HC-SRO4 (generic), and an LED (generic). Once you get your materials, the next step is to set up the project. The following picture shows the circuit diagram. You must replicate it.
Once your finished recreating it, go to Arduino app to input the code. There are three codes, LED brightness, blink rate of LED, and sense change of altitude. Do the codes in the ordered listed.
- Code for Brightness (pin 9 is attached to LED)
- Code for Blink Rate (pin 9 is attached to LED)
- Code for Sense of Altitude Change
(Remember to try each code by itself to make sure it works.)
Once your finished inputting all your code, try running it all at the same time. It should work, and the project should be complete!
Related Stories
https://www.instructables.com/UltraSonic-Proximity-Sensor/
https://www.instructables.com/Interfacing-Ultrasonic-Sensor-With-Arduino-1/