How To Make A Led Turn On With A Button On Tinkercad And The Elegoo Uno R3
Step 1: Is to go to Tinkercad and Start a new circuit
Step 2: Is to get out you materials. So what your going to need is
1 Resistor
A Arduino Uno
1 button
1 LED
1 Breadboard Small
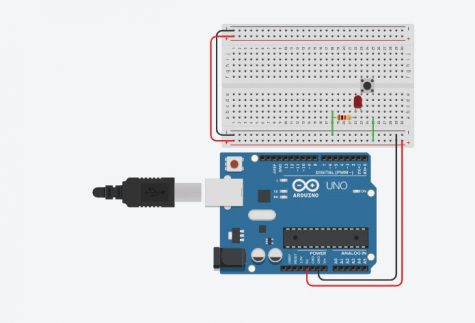
Step 3: Is to setup your Breadboard. What you wanna is connect the minus on the breadboard to ground and the plus to 5v. Then on the other side of the bradoboard you connect the plus to plus and minus to minus and your all set.
Step 4: Plugh your button in. You have to make it so one side is on the right side of the little dip in the middle and the other side of the button is on the left side of the little dip. You can look at how I did it Below.
Step 5: Next you want to plug in the longer side of the LED to the left side of the button
Step 6: On the shorter side of the led you plug in a resistor so you LED doesn’t get burned out
Step 7: Know that you have that done we have to start plugging the wires to connect to the circuit. What you want to do is connect the left side of the resistor to the minus on the breadboard with a wire.
Step 8: then you connect the right side of the button to the plus so it gives power to the LED and the button.
Your all done with tinkercad but keep it open so you can copy what you did on the tinker cad on the arduino
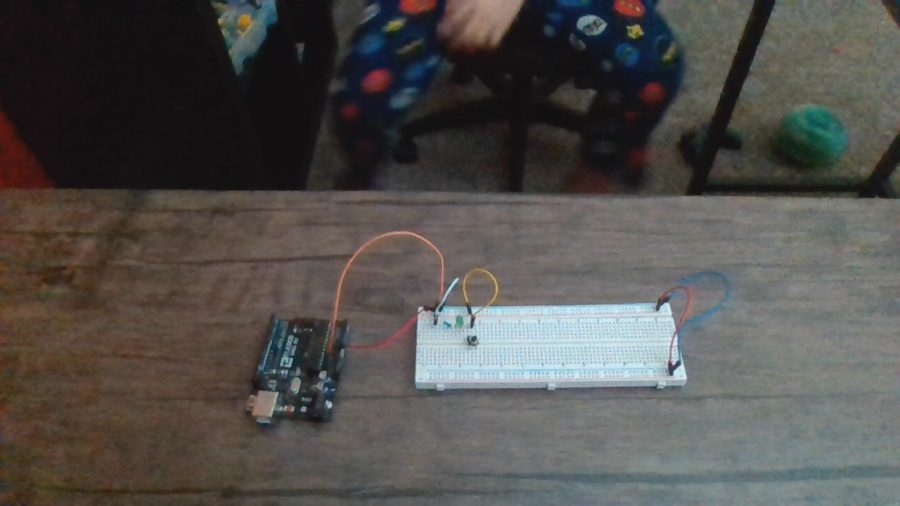
Step 9: Copy what you did on to your IRL breadboard and arduino
Step 10: Know open the arduino software and its time to code. Go back into tinkercad and open up the code in the top right
Step 11: Then change it from boxes to text in the top let of that slide in box.
Step 12: Copy and paste everything into arduino. Then verify it to make sure there is no mistakes and your ready to upload