Joystick Controlled Motor Elegoo Arduino Uno R3
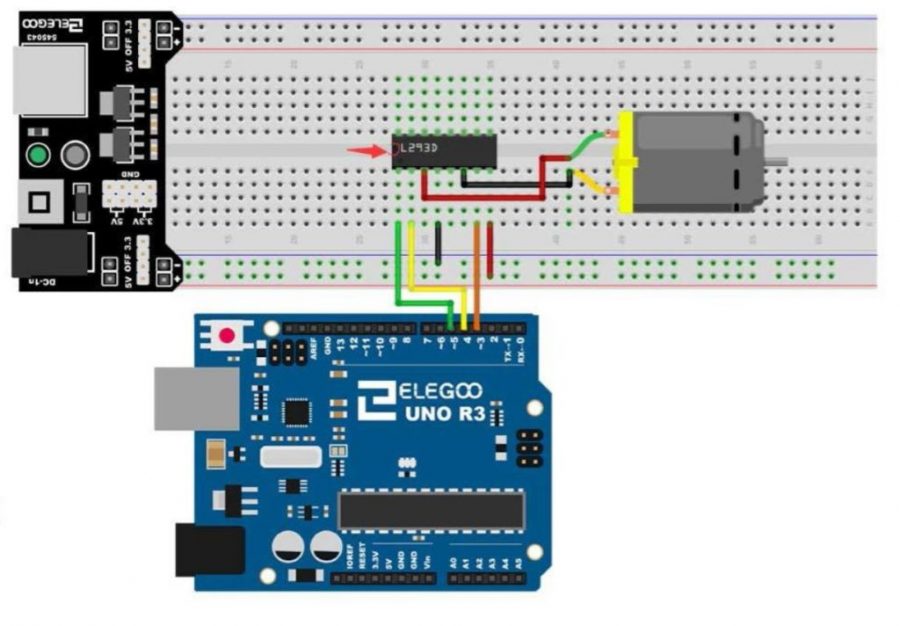
Aruino project layout. Image source https://toptechboy.com/arduino-tutorial-37-understanding-how-to-control-dc-motors-in-projects/motor-jjpg/
Making a motor turn on and off is one of the most basic things that is possible with an Elegoo Arduino Uno. So why not make it cooler? This circuit will allow you to control the speed, and direction of a DC motor with a small thumb joystick. All the materials you need come standard with the Elegoo Uno R3 starter kit.
The materials you need are:
- 1x Uno R3 controller board
- 3x female/male Dupont wires
- DC fanblade/motor
- L293D motor chip
- 6x breadboard jumper wires
- Joystick module
- Arduino 1.8.8 software
- Breadboard
- 9V battery/9V battery adapter
Once you’ve managed to scrounge up the required materials, you’re ready to start building.
Step 1: Connect the female sides of the Dupont wires to the following pins on the joystick module: “GND”, “+5V”, “VRy”. Then the male end of the GND wire will connect to a GND in the power section of the Elegoo board (written in small white letters on the board). Then connect the male end of the +5V wire to the 5V outlet in the power section of the board. Finally connect the VRy wire to outlet A1 on the arduino board.
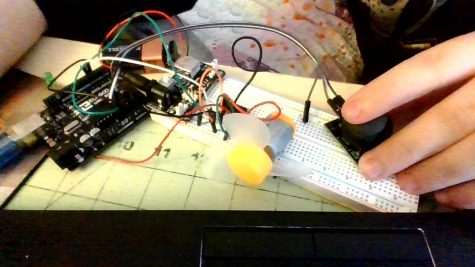
Step 2: Follow the circuit layout as seen on the featured image. (The colors of the wire don’t matter) The module on the far left of the image is the battery unit. You plug in your 9Volt battery adapter into the circular port on the module. Mind you, the characters on the motor chip have to be L293D, if you use the wrong chip then it won’t communicate correctly with your motor.
Step 3: The final step that you’ll need to complete is the coding. Delete all the code you first see when opening the Arduino IDE software. Then Click HERE for a google doc containing the code, and copy and paste that into your Arduino program. (Make sure your Arduino software is sending the code to the correct USB port.).
If still don’t quite know whats going on watch this video for some help:
Related Articles:
https://toptechboy.com/arduino-tutorial-39-using-a-joystick-to-control-dc-motor-speed-and-direction/