Elegoo Arduino LED Sequence
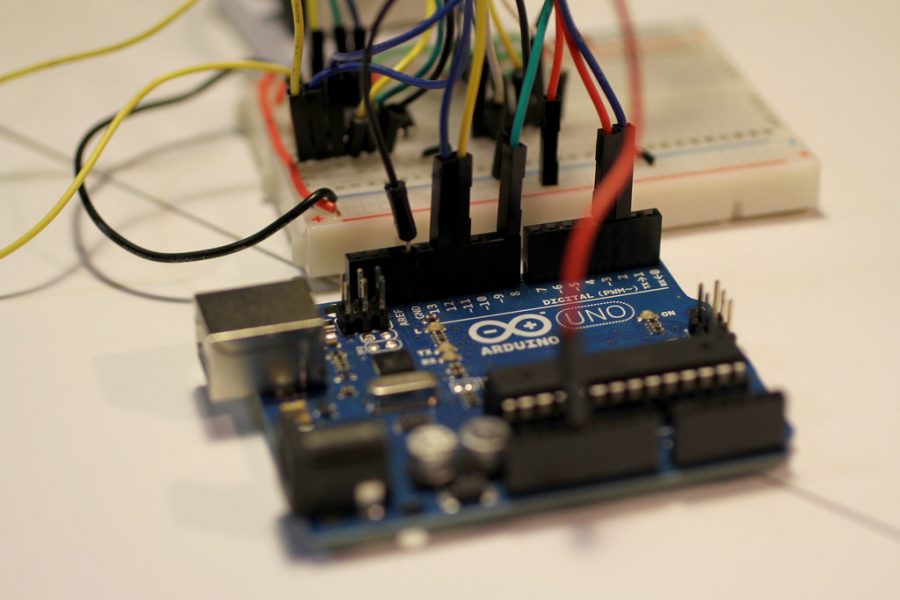
Making an Elegoo LED sequence is quite easy. There is just a couple steps and once you got it, it should be easy. First you need an Uno R3 board, Arduino software, Three different colored LED bulbs, 3 220 ohm resistors, 4 jumper wires, your power cable to connect to your computer.
Here are the steps.
1. Get your software and put your first LED bulb in slot D1, Your shorter side (negative) should be in first every time. Second LED goes into D5. Third goes into D10.
2. Get your 220 resistors and put one into slot E1 and the other end to the negative rail, second one in slot E5 and into the N rail and last one into E10 to the N rail.
3. Next get your different colored jumper wires and put them in E2 and then into the Uno r3 board slot 11 do the same with the next two, E6-12 and E11-13. Now get a green ground wire and put one end in the negative rail in the software and the other end in the Uno r3 ground slot.
Now make sure you get your power cable connect it into the Uno r3 board and into your computer. Now go to your Arduino coding download and put this code in or use your own sequence code.
/* A simple program to sequentially turn on and turn off 3 LEDs */
int LED1 = 13;
int LED2 = 12;
int LED3 = 11;
void setup() {
pinMode(LED1, OUTPUT);
pinMode(LED2, OUTPUT);
pinMode(LED3, OUTPUT);
}
void loop() {
digitalWrite(LED1, HIGH); // turn on LED1
delay(200); // wait for 200ms
digitalWrite(LED2, HIGH); // turn on LED2
delay(200); // wait for 200ms
digitalWrite(LED3, HIGH); // turn on LED3
delay(200); // wait for 200ms
digitalWrite(LED1, LOW); // turn off LED1
delay(300); // wait for 300ms
digitalWrite(LED2, LOW); // turn off LED2
delay(300); // wait for 300ms
digitalWrite(LED3, LOW); // turn off LED3
delay(300); // wait for 300ms before running program all over again
}
