We got a locker to part our parts in and started to plan exactly where each of the wires are going to go and which exact model we were going to use for the wiring. We figured out which Arduino code we needed and downloaded it onto a computer and into the Arduino Uno. We spent a lot of time trying to download the code because of the school blocking sites, downloads, and the computers not being compatible with the code.
The model:

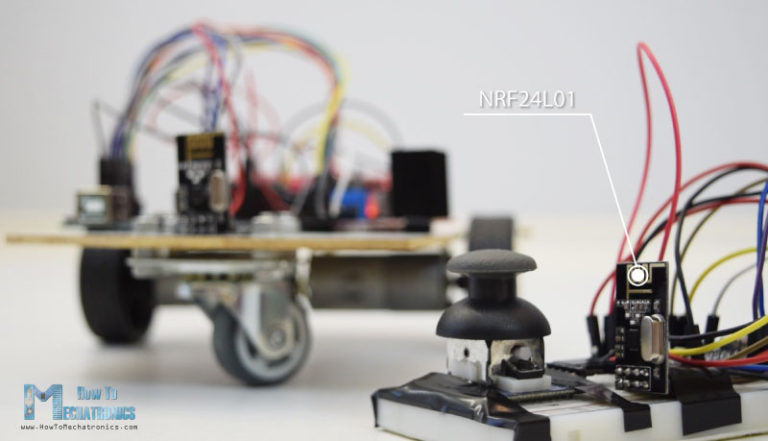
We started to build the remote controller using a joystick, a transmitter, an Arduino nano, wires, a bread board, a glue gun, electrical tape, and a saucy block of wood. The receiver will be attached to an Arduino uno board which will connect to the H-bridge and then two motors which will power the wheels. A battery will be attached to the H-bridge and the Arduino uno as well. All of this receiving circuit will be attached to a platform that holds up the Carlisle Trash Can that can be used for your everyday needs.