


Need a stylish dock for all your Apple things? This project is for you. It’s a 3D printed rapid charging station for your iPhone 7, AirPods, and Apple Watch. The soft inserts for each product are press-fit so they can be changed out to fit a new version of each product if need be.
Step 1: Tools + Materials
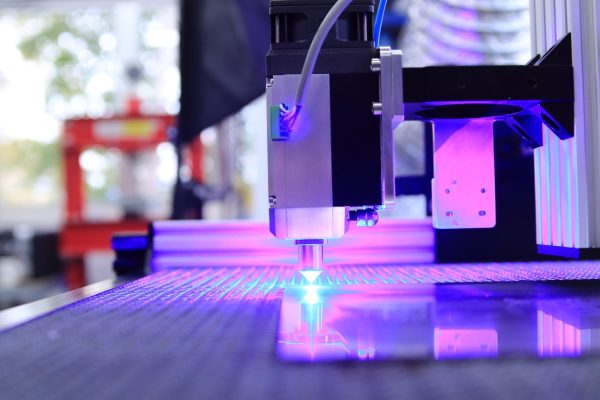
3D Printer
- 3D Printer
- I use a Creality CR-10. It’s the best bang for your buck, in my opinion.
- Use this coupon code at Gearbest to get it for $339: 1111CR10
- You’ll need to modify the CR-10 to use the polyflex PLA (or any soft material). Here’s a youtube video on how to do that: https://www.youtube.com/watch?v=CJ0h3_vNpno
- 3D Print Filament
- I used Matte Fiber HTPLA from Proto-pasta for this project, but pretty much any filament will work. I like this stuff because the finish looks really good.
- I used Polymaker Polyflex for the rubber feet. This stuff is good for this application because it creates more friction on a desk top to keep the sign from sliding around.
Parts
- M3 Screws: $13 for 260 pc.: You could use any screws and nuts around this size, but I find these work well for small 3D printed mechanical projects.
- 100 Point Chipboard: $1.50 / sheet: This is used for the three panels and the sign panel. You can cut it with a straight edge and a hobby knife.
- USB Multi Tap: $45: This is a 4 port, 3 amp rapid charger made by Hardened Power Systems in Tennessee. I’ve tested it and it’s more than 50% faster than the 5 amp Apple charger at charging my phone. At $45, it’s hard to beat the price, and I always buy from small local guys whenever I can.
- Powerpole Cable: $9: This is how you connect the Multi Tap to the DC terminal. If you have a crimper you can just crimp your own wires with powerpole connectors.
- 12V 7A AC /DC Adaptor: $14: Any 12V adaptor will do, but you’ll want one that’s got a high amperage output to take full advantage of the multi-tap. Technically you’d need 12A to get top performance out of the multi tap (3 amps X 4 ports), but it seems really unlikely to me that the watch and the EarPods would pull 3 amps.
- Lightening Cables (2): $8 ea.: Any generic cable will probably do, this one works with the files I designed.
- Apple Watch Cable: $28: It’s important that you use this model or one that’s the same size, bigger ones won’t fit.
- USB Extension Cable: $5: I added this as an extra USB charging output
- 5.5mm x 2.1mm DC Jack Connector: $7: This connects the powerpole cable to the AC adaptor.
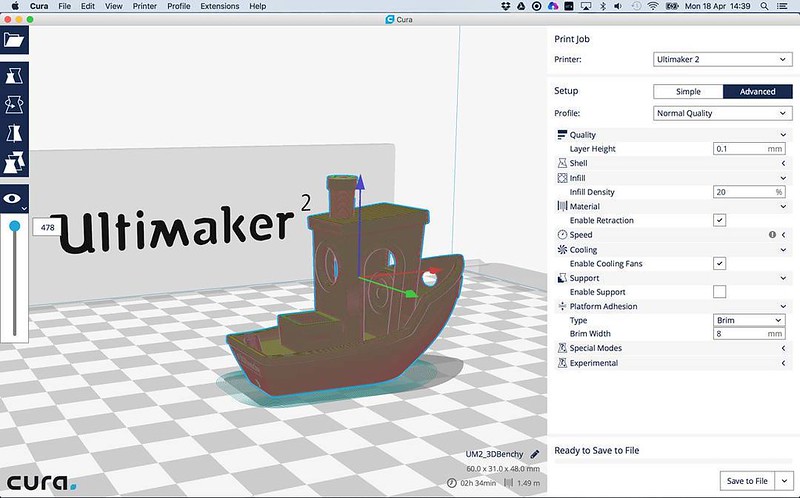
Step 2: Design and Files
The STL files are 3d-printable files ready for a slicer. I use Simplify 3D because I like the UI but Cura is free and I see a lot of good results with that program.
The PDF file is an 8.5 X 11 printable layout for the chipboard panels. You can print these out and use them as templates to cut out the chipboard pieces with a xacto knife.
The F3D file is a Fusion design archive that you can upload and edit as you like.


now you need to go to this website for all the info on it 🙂
http://www.instructables.com/id/Apple-Charging-Dock/
Ready to Charge

All things considered, I’m really happy with this project. It works like a charm, looks good, and tidies up my desk considerably.
If I were to make it again I might make some kind of modular insert for the tray on the back, maybe a cradle for an iPad charger or something like that.